Best Bath Products FAQ in Rajouri Garden, Delhi: Premium Bathware Showroom Guide
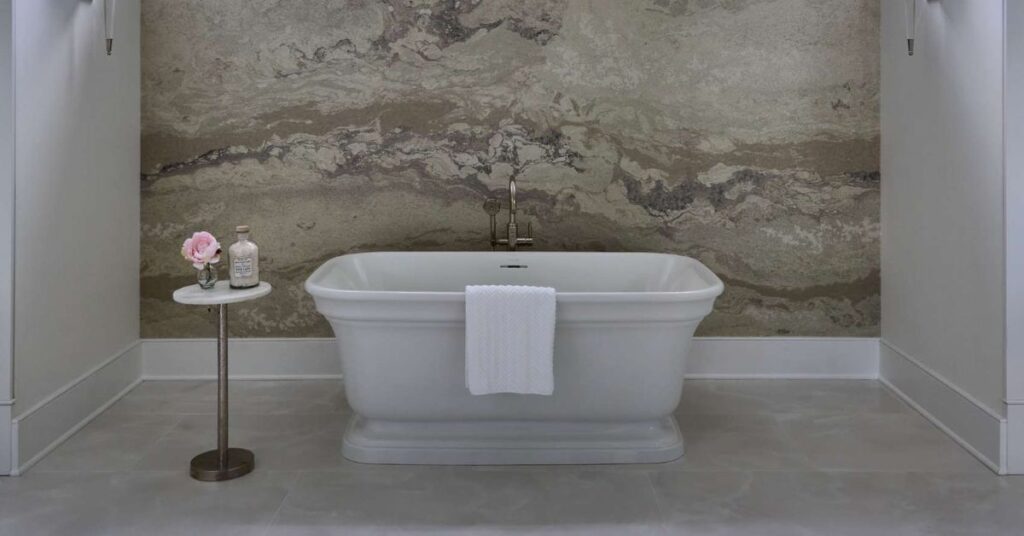
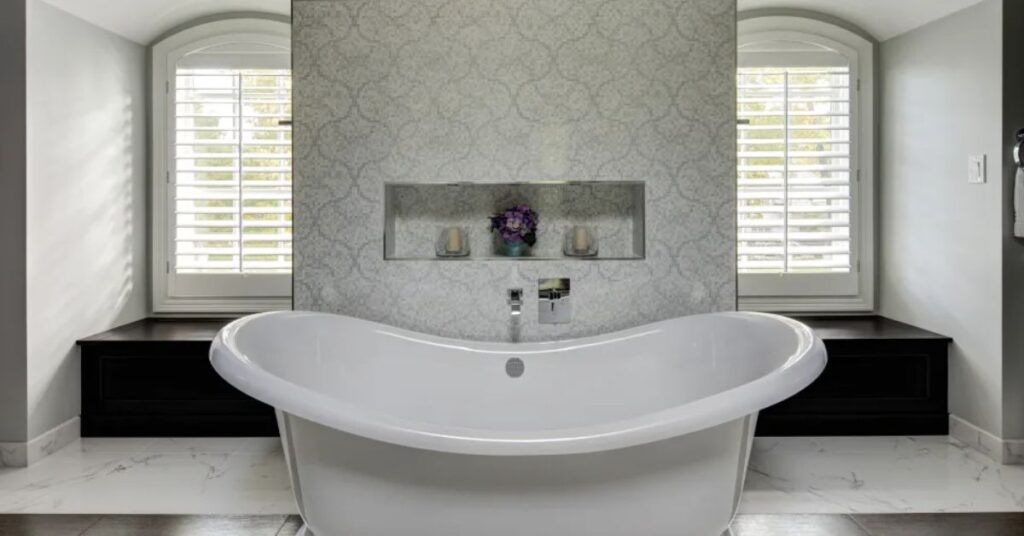
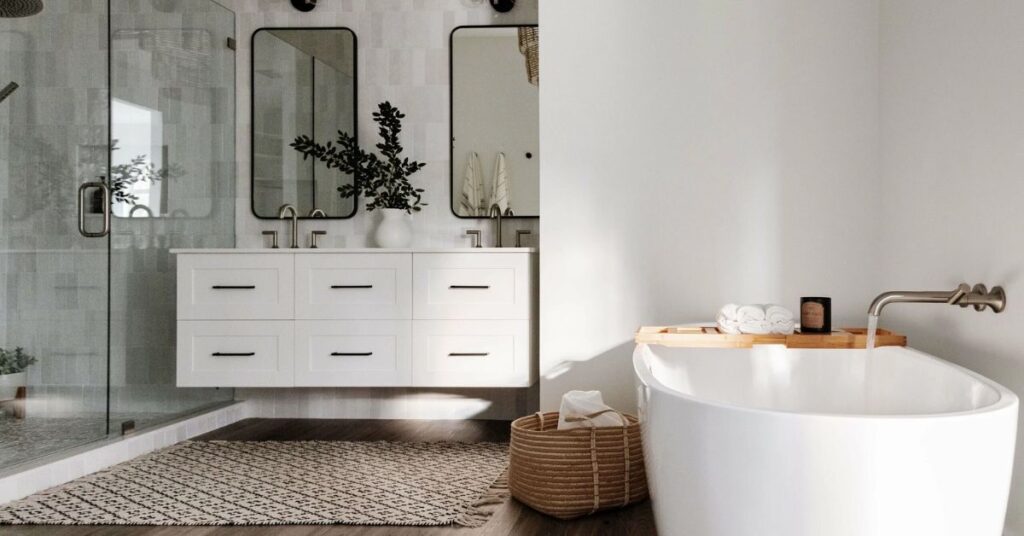
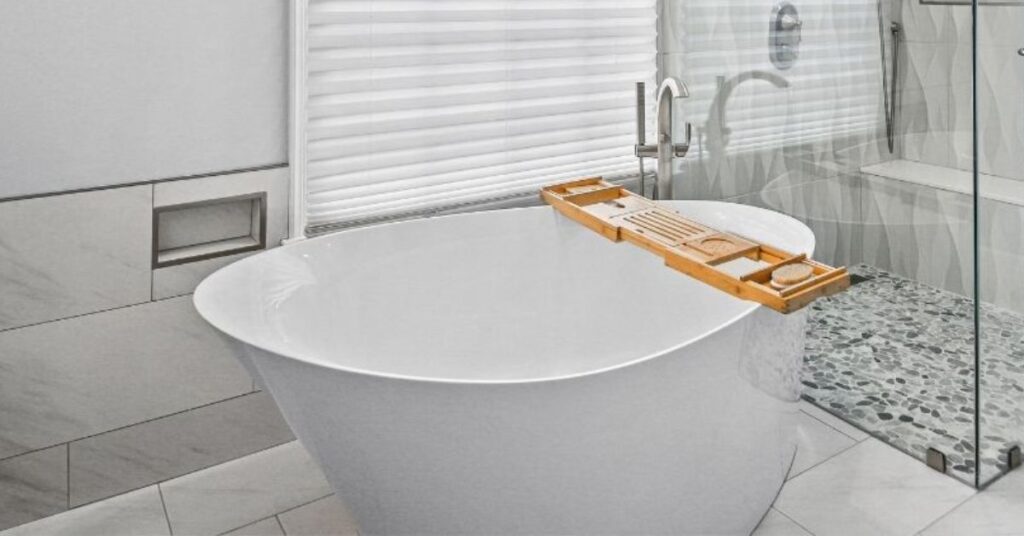
When people search for bath products faq in Rajouri Garden, Delhi, they are usually looking for more than just a few bathroom fittings. They are looking for comfort, design, quality, hygiene, durability, and a showroom experience that helps them make the right decision for their home. A bathroom is one of the most used spaces in any home, which means every purchase matters. The faucet you choose, the showerhead you install, the basin you pair with your vanity, and the sanitaryware you select all affect daily comfort and long-term satisfaction. At The Lantern by Agarsain Bath and Lights in Rajouri Garden, Delhi, the buying journey should feel guided, practical, and premium. A good bathware showroom helps new buyers compare styles, understand finishes, and choose products that fit both the room and the lifestyle. That matters because bath products faq are not just decorative. They are functional products used every single day, and many of them also have a direct impact on water use, maintenance, and long-term utility bills. The EPA’s WaterSense program notes that water-efficient bathroom products can perform well while using less water, and WaterSense-labeled products are independently certified to use at least 20% less water than standard models. Rajouri Garden and Kirti Nagar are also clearly active local search areas for bathroom fittings, bathware, and luxury bathroom dealers. Local business directories show strong demand for terms like “bathroom fitting dealers in Rajouri Garden,” “bathware dealers in Rajouri Garden,” “bathroom fitting dealers in Kirti Nagar,” and “luxury bathroom fitting dealers in Rajouri Garden, Delhi near me.” That is exactly why a premium showroom presence in this area works so well for homeowners, renovators, and interior buyers. Why Bath Product Shopping Deserves a Showroom Visit Buying bath products online can be convenient, but it rarely gives you the full picture. In a showroom, you can compare the real look and feel of faucets, shower systems, basins, accessories, mirrors, and sanitaryware before making a purchase. You can check the finish in person, judge proportions, and understand how a product will look in an actual bathroom instead of in a polished catalog image. That matters especially for premium and luxury bathrooms. A brushed finish, matte black fitting, polished chrome tap, or sculpted basin can look very different under showroom lighting than on a screen. A good showroom also lets you understand how products coordinate across a full bathroom design. That includes the basin, tapware, shower area, toilet, wall accessories, and storage. When all of those parts feel balanced, the bathroom looks cleaner, more expensive, and more intentional. For many new buyers, a showroom also reduces mistakes. It is easy to underestimate size, ignore installation requirements, or buy a product that does not match the plumbing layout. A showroom consultation helps avoid that. It can also save time later because the right advice at the beginning often prevents costly replacement work. What Bath Products faq Usually Include When people say “bath products faq,” they often mean a full range of bathroom-related items rather than just one fixture. A premium bathware showroom usually helps customers explore categories such as: This is the kind of product mix buyers now expect when they search for bath products near me, a premium bathware showroom, or buy bathroom fittings in Delhi. The local demand for these categories is visible in Rajouri Garden and Kirti Nagar business listings, where buyers commonly search for sanitaryware dealers, bathroom fitting dealers, and luxury bathware options. The Most Important Things to Check Before You Buy Bath Products A good bath product purchase is not only about style. It is also about function, comfort, maintenance, and water efficiency. 1) Check the size of your bathroom The right product depends on the room size. A compact bathroom may need a wall-mounted basin, a sleek tap, and minimal accessories, while a larger bathroom can support a bigger vanity, a feature mirror, a premium shower area, or luxury fittings. 2) Match the product to the plumbing plan One of the most common mistakes new buyers make is choosing a beautiful fitting without confirming the plumbing setup. The inlet, outlet, height, and wall positioning all matter. A showroom team can help match the product to the technical layout before purchase. 3) Pay attention to the finish and material The finish changes both the visual effect and the maintenance effort. Chrome, matte black, brushed gold, nickel, and stainless steel-like finishes all create a different look. Premium finishes are especially important in luxury homes because they help the bathroom feel cohesive. 4) Look for water-efficient options Water efficiency is no longer optional for many buyers. EPA guidance shows that WaterSense-labeled bathroom faucets and accessories can reduce water flow by 30% or more compared with standard 2.2 gpm faucets, while showerheads and toilets with the WaterSense label are designed to save water without sacrificing performance. 5) Choose products that are easy to maintain Bath products faq should be beautiful, but they also need to remain easy to clean. Smooth edges, quality finishes, and reliable fittings usually make everyday maintenance easier. 6) Think long term, not just trend-driven A very trendy product may look exciting today, but a timeless design often delivers more value over time. Many homeowners prefer premium finishes and clean silhouettes because they continue to look elegant for years. Best Bath Products faq for Different Parts of the Home Bathroom Faucets Faucets are one of the most used items in a home. They should feel smooth, function reliably, and match the design of the sink or basin. In a luxury bathroom, the faucet often acts as a small visual centerpiece, so finish and proportion matter. Showerheads and Shower Systems A good shower setup makes everyday life feel better. Buyers often compare rain showers, hand showers, and mixed shower systems. WaterSense-labeled showerheads are especially worth considering because they are designed to save water and still perform well. Toilets and Sanitaryware Toilets are a major purchase decision because comfort, flushing performance, cleaning ease, and water use all matter. Many premium
Best Bath Products FAQ in Rajouri Garden, Delhi: Premium Bathware Showroom Guide Read More »