
If you’ve landed here, you probably typed “brightness guide for home lights” into a search bar and want a clear, usable answer — not vague marketing copy. Good: This guide gives exactly that. It walks you, step-by-step, through the numbers and choices every new buyer needs: what lumens and lux really mean, how to calculate how bright each room must be, how beam angle and fixture type change delivered light, dimming compatibility, colour temperature, energy math, and a shopping checklist that converts vague product descriptions into measurable requirements.
Use this brightness guide for home lights as your spec sheet when you visit showrooms or email suppliers: it will save you money, headaches, and long evenings under the wrong light.

The three core facts to remember
Before we dive deep, keep three simple rules in mind from this brightness guide for home lights:
- Think in lumens (lm) and lux (lx), not watts. Lumens measure output; watts measure power.
- Layer your light: ambient (general), task (work surfaces), accent (art)—combine these to match how you live.
- Measure, don’t guess: use a lux meter or phone app to verify in-situ light levels before committing.
Now let’s unpack those rules so you can act on them.
What lumens and lux mean — short, precise definitions
- Lumens (lm): the total light an LED, bulb, or fixture emits. If a product box says “800 lm,” that’s the light output you compare across products.
- Lux (lx): lumens per square metre — the actual brightness on the surface where you need it (table, desk, counter). 1 lux = 1 lumen/m².
This brightness guide for home lights uses both numbers: lumens to choose fixtures, lux to set targets for rooms.
How to calculate how bright you need (step-by-step)
This is the core of the brightness guide for home lights — a repeatable calculation you can do for any room.
- Measure the room area (A) in square metres.
- Choose a target lux (L) from the room-by-room table below.
- Required lumens on the task plane = A × L.
- Adjust for losses (fixtures, dirt, reflectance) by dividing by a maintenance factor (use MF ≈ 0.7).
- Distribute total lumens across fixtures and tasks.
I will show a worked example soon — it’s easier with numbers.
Room-by-room targets: recommended lux values
Below are practical targets used by designers and electricians in this brightness guide for home lights. Use the higher end for tasks and the lower end for mood lighting.
- Living room (ambient): 150–300 lx
- Dining table (task): 200–300 lx at table surface
- Kitchen counter (task): 300–500 lx
- Bedroom (ambient): 100–200 lx; bedside task 300 lx for reading
- Home office/study: 300–500 lx at desk plane
- Bathroom/vanity: 300–500 lx at mirror plane (CRI ≥ 90)
- Hallways/stairs: 100–200 lx
- Outdoor paths: 50–150 lx, depending on use and safety
- Garage/workshop: 300–700 lx for detailed work
Use these as your baseline when applying the calculation above.
Worked example — do the math carefully
Let’s apply the brightness guide for home lights to a real dining table.
Room: dining table area = 2.0 m × 0.9 m = A = 1.8 m².
Target lux on table L = 250 lx (a comfortable, bright dining target).
Step 1 — required lumens on table plane: A × L = 1.8 × 250.
Work it digit by digit: 1 × 250 = 250; 0.8 × 250 = 200; total = 250 + 200 = 450 lumens.
Step 2 — adjust for losses: divide by MF 0.7. 450 ÷ 0.7 = 450 × (10/7). Multiply: 450 × 10 = 4,500; 4,500 ÷ 7 = divide: 7 goes into 45 six times (6×7=42 remainder 3), bring down 00 → 300; 7 into 300 is 42 (42×7=294) remainder 6 → result ≈ 642.857… Round to ≈643 lumens required installed.
Step 3 — allocate to the pendant: if you want the pendant to supply 70% of task light, pendant lumens = 0.70 × 643 = do digit math: 643 × 7 = 4,501; divide by 10 → 450.1 lm, round to ≈450 lm delivered to surface. Because beam angle losses and dimming headroom matter, choose a pendant rated for 600–900 lm so the delivered lux sits where you want it when accounting for optics and dimming.
This is the exact approach the brightness guide for home lights recommends for every task zone.
Beam angle and optical control: why lumens alone don’t tell the story
Lumens tell you how much light is produced, but beam angle tells you how that light is distributed:
- Narrow beams (10–30°) concentrate light into a small spot — fewer lumens needed for bright table-centre light.
- Medium beams (30–60°) balance task and ambient spread — common for pendants.
- Wide beams (>60°) create soft ambient wash; you’ll need more lumens to reach the same lux on a small task surface.
When using this brightness guide for home lights, always request the beam angle and — if available — photometric (IES) files from the supplier so you can predict delivered lux.
Colour temperature & CRI — the finishing touch to brightness
How bright light looks depends on colour too.
- CCT (Kelvin): dining and living rooms usually favour 2700K–3000K (warm); kitchens and offices often use 3500–4000K for clarity.
- CRI (Colour Rendering Index): for tasks where colour matters (kitchen, vanity, wardrobes), choose CRI ≥ 90. Lower CRI can make colours appear washed out even at the correct lux.
This brightness guide for home lights recommends specifying both CCT and CRI in every purchase order.
Dimming & controls — plan for flexible brightness
Dimming changes both brightness and the perceived warmth of a scene (if dim-to-warm is used). When planning, note:
- Choose dimmers that are LED-rated and compatible with the driver type (triac, ELV, 0–10V, DALI).
- Test one fixture with the actual dimmer before mass purchase.
- For scene-based control (Dinner, Movie, Work), use a system (DALI or smart mesh) that supports local control and schedules.
The brightness guide for home lights treats dimming as a feature that must be specified early — it’s not an afterthought.
Fixture selection: matching form to function
Different fixtures deliver brightness differently:
- Recessed downlights: good for uniform ambient light; choose the correct beam and trim for glare control.
- Pendants: focus task light and act as style anchors — calculate lumens for table plane.
- Linear suspensions: great for long tables and islands — specify lumens-per-metre.
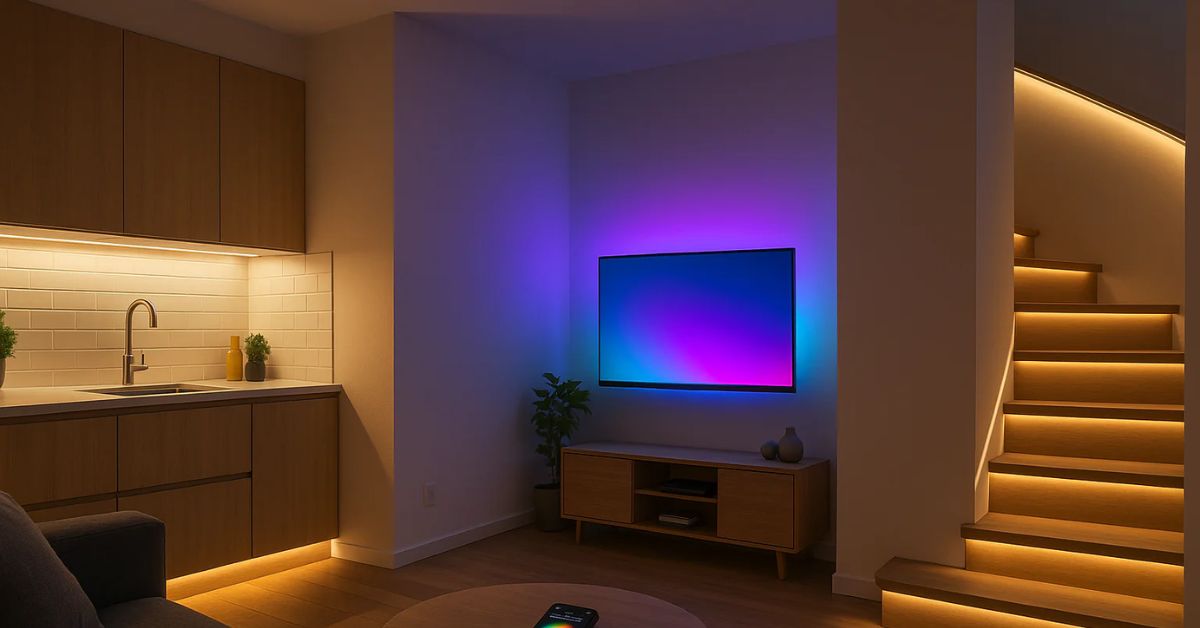
- Wall lights & sconces: add ambient fill and reduce contrast for TV viewing.
- LED strips: perfect for under-cabinet tasks; check lm/m and diffusers.
Buying by lumens and beam angle using this brightness guide for home lights avoids surprises in how a fixture performs in the real room.
Measuring brightness on site — tools & technique
To verify the plan, measure lux on the task plane:
- Use a dedicated lux meter for best accuracy.
- Smartphone apps exist (useful for rough checks), but verify against a meter if available.
- Measure at the typical working height: desk plane ~0.75 m, table surface actual height.
- Take multiple readings across the surface (corners and centre) to identify hot spots.
Record the results and compare to your targets from this brightness guide for home lights; adjust fixture aim or add layers as needed.
Energy & lifetime calculations — be practical
Brightness matters, but so does cost.
Example quick calculation (digit-by-digit clarity):
Replace a 60 W halogen (old tech) with a 9 W LED producing ~800 lm.
- Power saved per fixture = 60 W − 9 W = 51 W = 0.051 kW.
- Annual hours (estimate) = 4 h/day × 365 = 1,460 h.
- Annual kWh saved = 0.051 × 1,460 = compute: 0.050 × 1,460 = 73.0; 0.001 × 1,460 = 1.46; sum = 74.46 kWh.
- If electricity cost = ₹10/kWh → annual money saved ≈ 74.46 × 10 = ₹744.60 per lamp.
Multiply by the number of replaced lamps to get household savings. This brightness guide for home lights encourages buyers to calculate real savings when selecting higher-efficacy fixtures.
Shopping checklist — what to demand from suppliers
When you shop, turn this brightness guide for home lights into a checklist you can paste into emails:
- Total lumen output (lm) and efficacy (lm/W).
- Beam angle / IES photometrics and delivered lumens to the task plane.
- CCT (Kelvin) and CRI.
- Dimmability and list of compatible dimmers/controllers.
- L70 lifetime rating and warranty on the LED module and driver.
- Driver location (accessible or sealed) and service policy.
- Finish, diffuser type and cleaning instructions.
- Itemized installed price and installation access requirements.
Insist on measurable answers — not adjectives.
Maintenance & long-term checkups
Keep fixtures performing:
- Clean diffusers and lenses every 3–6 months. Dust reduces output.
- Keep spare lamps/drivers of the same batch to avoid colour shifts.
- Check dimmer firmware and driver firmware (for smart drivers) annually.
- Replace failed drivers rather than whole fixtures when possible — cheaper and greener.
A simple maintenance plan preserves the brightness you design today.
Quick FAQs from this brightness guide for home lights
Q: How do I avoid glare from bright downlights?
A: Use recessed trims with baffles or low-glare optics, choose wider beam angles, or add a secondary indirect layer.
Q: Is warm light (2700K) always better for living rooms?
A: It’s preferred for ambiance, but tunable white lets you have warm dinners and brighter task light when needed.
Q: Can I rely on smart bulbs for correct brightness?
A: Smart bulbs are fine for lamps and experimental setups, but for whole-room installs, prefer fixtures with documented lm/W and driver specs.
Final checklist — use this before you buy or install
- Lux targets set per room and lumens calculated.
- Fixtures specified by lumens, beam angle and CCT.
- Dimming protocol chosen and compatibility confirmed.
- Mock-up or sample tested in the actual room.
- Spare parts and maintenance plan arranged.
- The installation plan includes service access for drivers.
Follow these steps from the brightness guide for home lights, and you’ll end up with rooms that look and feel right — not just “bright.”
Useful references
For detailed product data and energy labels, check reputable manufacturers and local energy authorities such as Philips, practical retail options like IKEA, and regional efficiency guidance from the Bureau of Energy Efficiency if relevant to your area.